
I love starting new projects!
Quilts for a friend, quilts for a loved one, quilts for myself!
The anticipation of the finished product is so exhilarating!
With help from my friends at Shannon Fabrics, Robert Kaufman Fabrics, and Friend Folks I'm bringing you this start-to-finish quilting tutorial.

Step 1: Choose a Pattern
For this tutorial I've chosen to use the Turning Twenty pattern by Tricia Cribbs. The pattern is perfect for fabric with large print. It allows the fabric to be the star of the quilt rather than the pattern.

Step 2: Purchase Fabric
Depending on the size of the quilt you want to make, buy the appropriate amount of fabric and don't be afraid to buy a little extra for your stash. ;) For this quilt I chose from the Celebrate Suess! line of fabric by Robert Kaufman. It's large prints and and iconic images where fabulously suited for the pattern.


Step 3: Buy Backing Fabric
Many quilters skip this step when first buying material for the front and then later wish they hadn't. If you buy the back while you're buying the fabric, then you'll have it ready when you finish your quilt top. If you don't, you run the risk of having your quilt top lay abandoned for days on end. Yikes!
For this quilt, I chose to use Cuddle by Shannon. Shannon Fabrics coordinates with Robert Kaufman Fabrics on some of their fabric lines and had the perfect Celebrate Suess! backing. Cuddle by Shannon is the softest fabric you'll ever touch and makes an amazing back. Since it is 60" wide you rarely have to piece the back. Check out The Perfect Back for a Baby Quilt for more information.


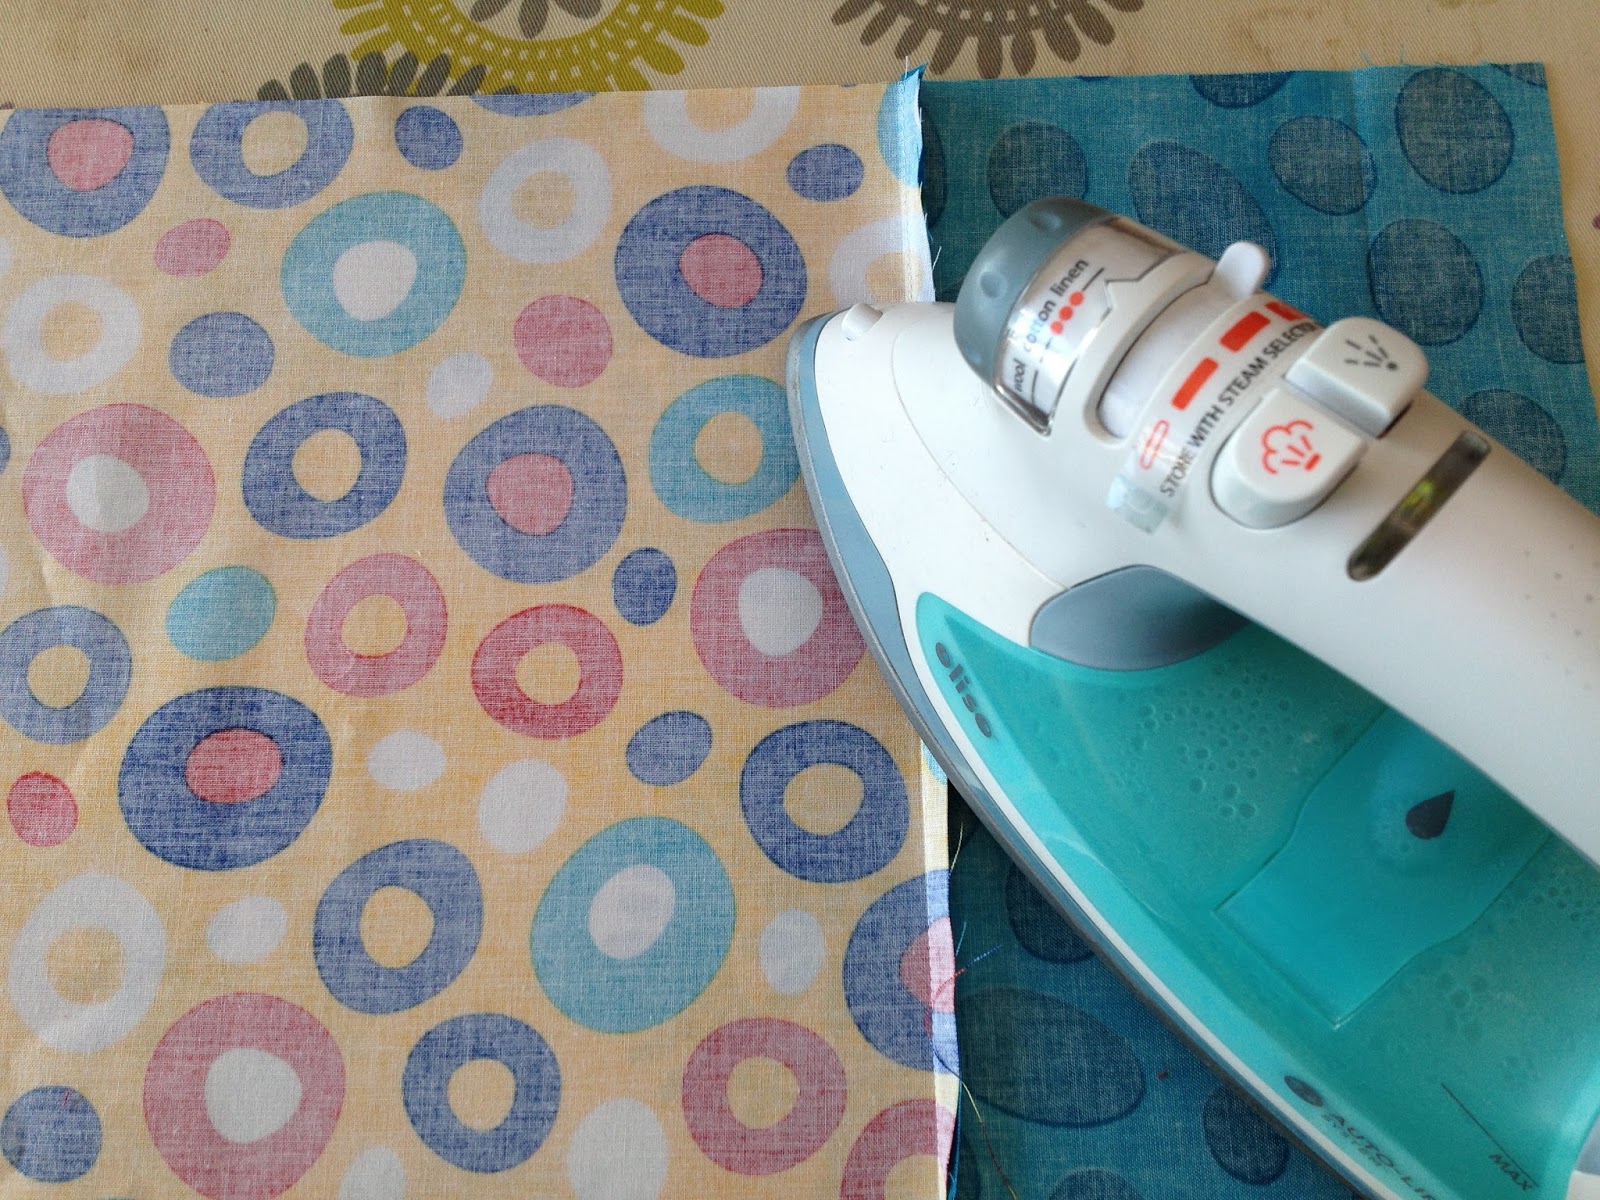
Step 4: Cut the Fabric
Be sure the follow all directions carefully. Turning Twenty has great, easy-to-read instructions and picture!


Step 5: Sew the Quilt Top
Match pieces together and sew blocks according to the directions. Chain sew if possible to increase efficiency! Once all the blocks are sewn, layout the blocks and adjust placement until you are satisfied with the way your quilt top will look. Mark blocks so you know how they go together and then assemble rows. Sew rows together to complete your top!


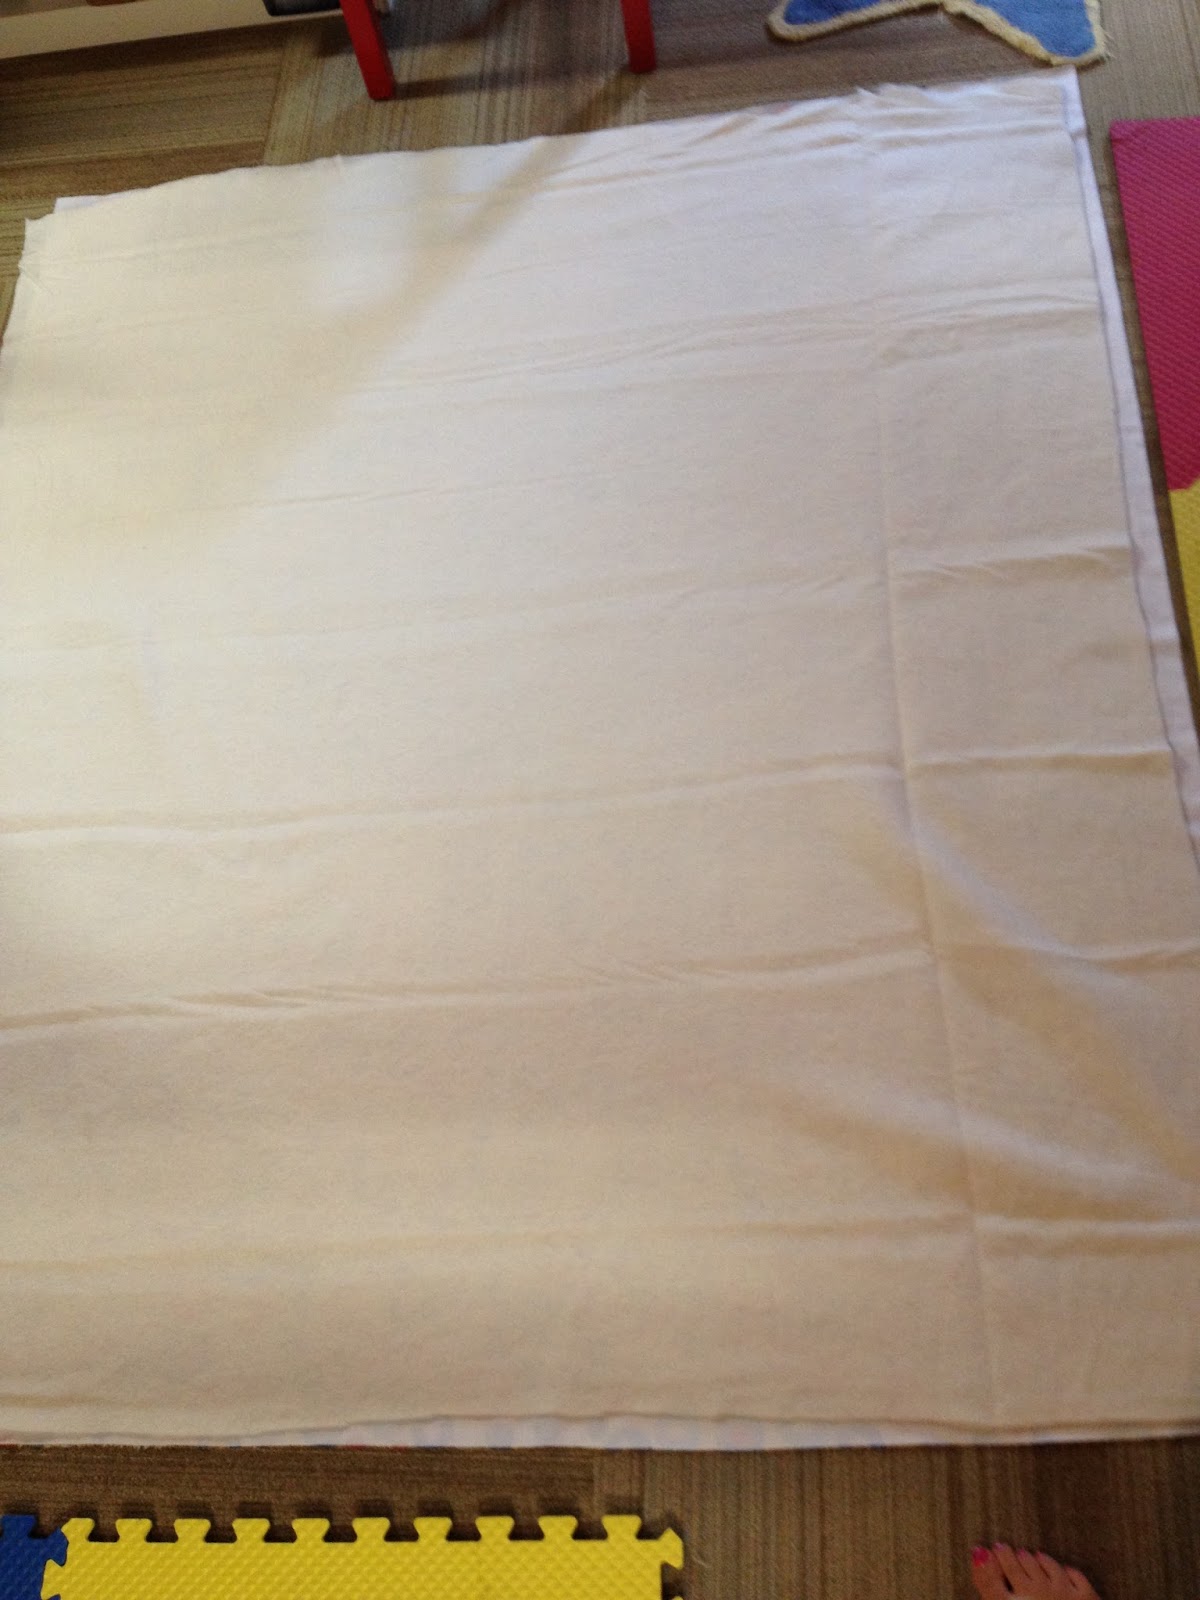
Step 6: Batting, Backing and Basting
When your top is complete it is time to baste your quilt so it can be quilted. Lay your backing fabric, right side down, on the floor. Secure the corners with pins or tape so the fabric won't move. Place your batting on top of your backing. You may choose to secure it as well. Lay your completed quilt top, right side up, on top of the batting. Now it is time to baste the three layers together in your preferred way. Personally I like to pin baste, but any way will work!


Step 7: Quilt your Quilt
I love quilting using my sewing machine! Mark the lines you want to quilt on your top clearly. I usually stick to straight lines when quilting with my machine. Some people are afraid to use Cuddle with their sewing machine, but I love the way it turns out. Plus, it's very easy to work with! My only tip is to use your Walking Foot. This will help the fabric feed through without sliding or bunching.


Step 8: Trim and Bind
Once you are finished quilting, trim away the excess batting and backing fabric and attach your binding!


Enjoy your new quilt and cuddle up under your Cuddle-y back!
No comments:
Post a Comment