Wednesday, September 18, 2013

Arrrrgh Mateys!

Ahoy there mates!
Today is National Talk Like a Pirate Day!

In honor of this festive occasion I have some silly jokes and some fun fabric to share with you.

Q: What kind of socks does a pirate wear?
A: Arrrrgyle

Q: Where does a pirate get a hamburger?
A: Harrrr-dees

Q: How much did the pirate pay to have his ears pierced?
A: A buccaneer (buck-an-ear)

Q: Why do pirates make good singers?
A: Because they can hit the High C's (High Seas)

Alright, now on to some fabric finds.
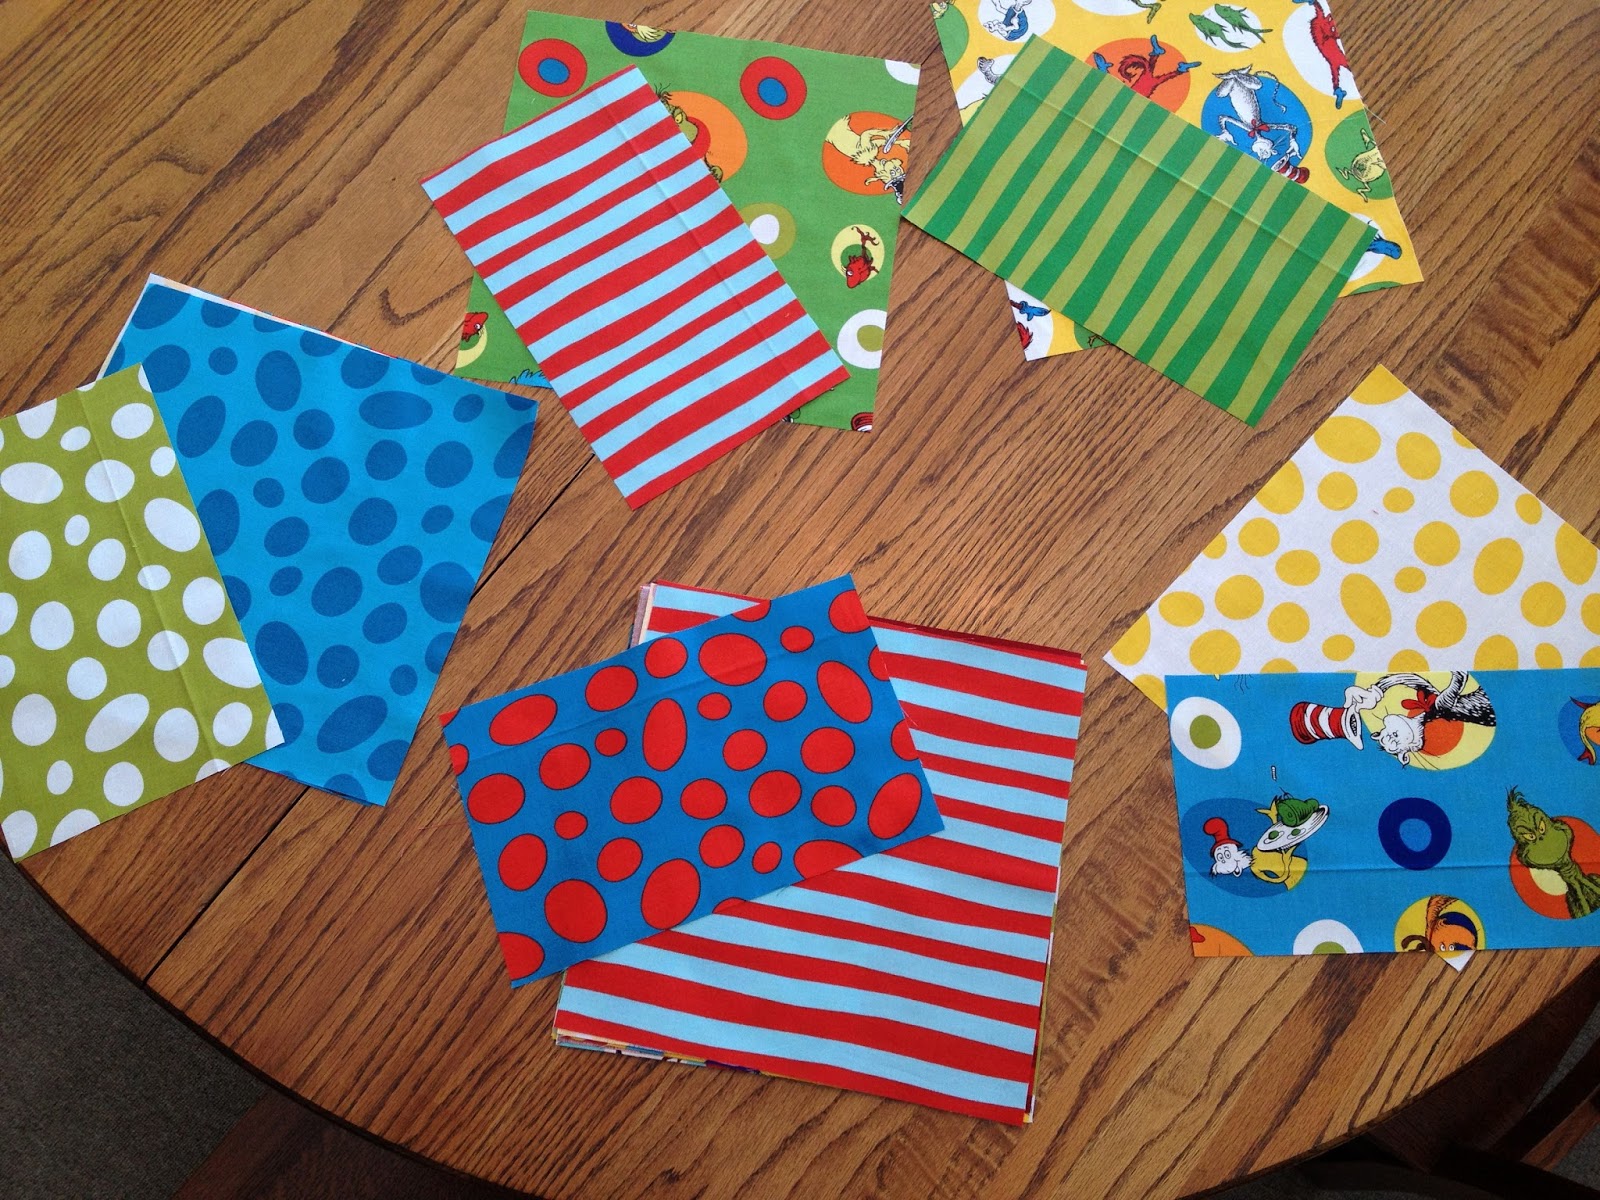
The main Pirate print came from Timeless Treasures Fabric Inc. and the rest I found to coordinate. Aren't they the cutest!? So many possibilities!


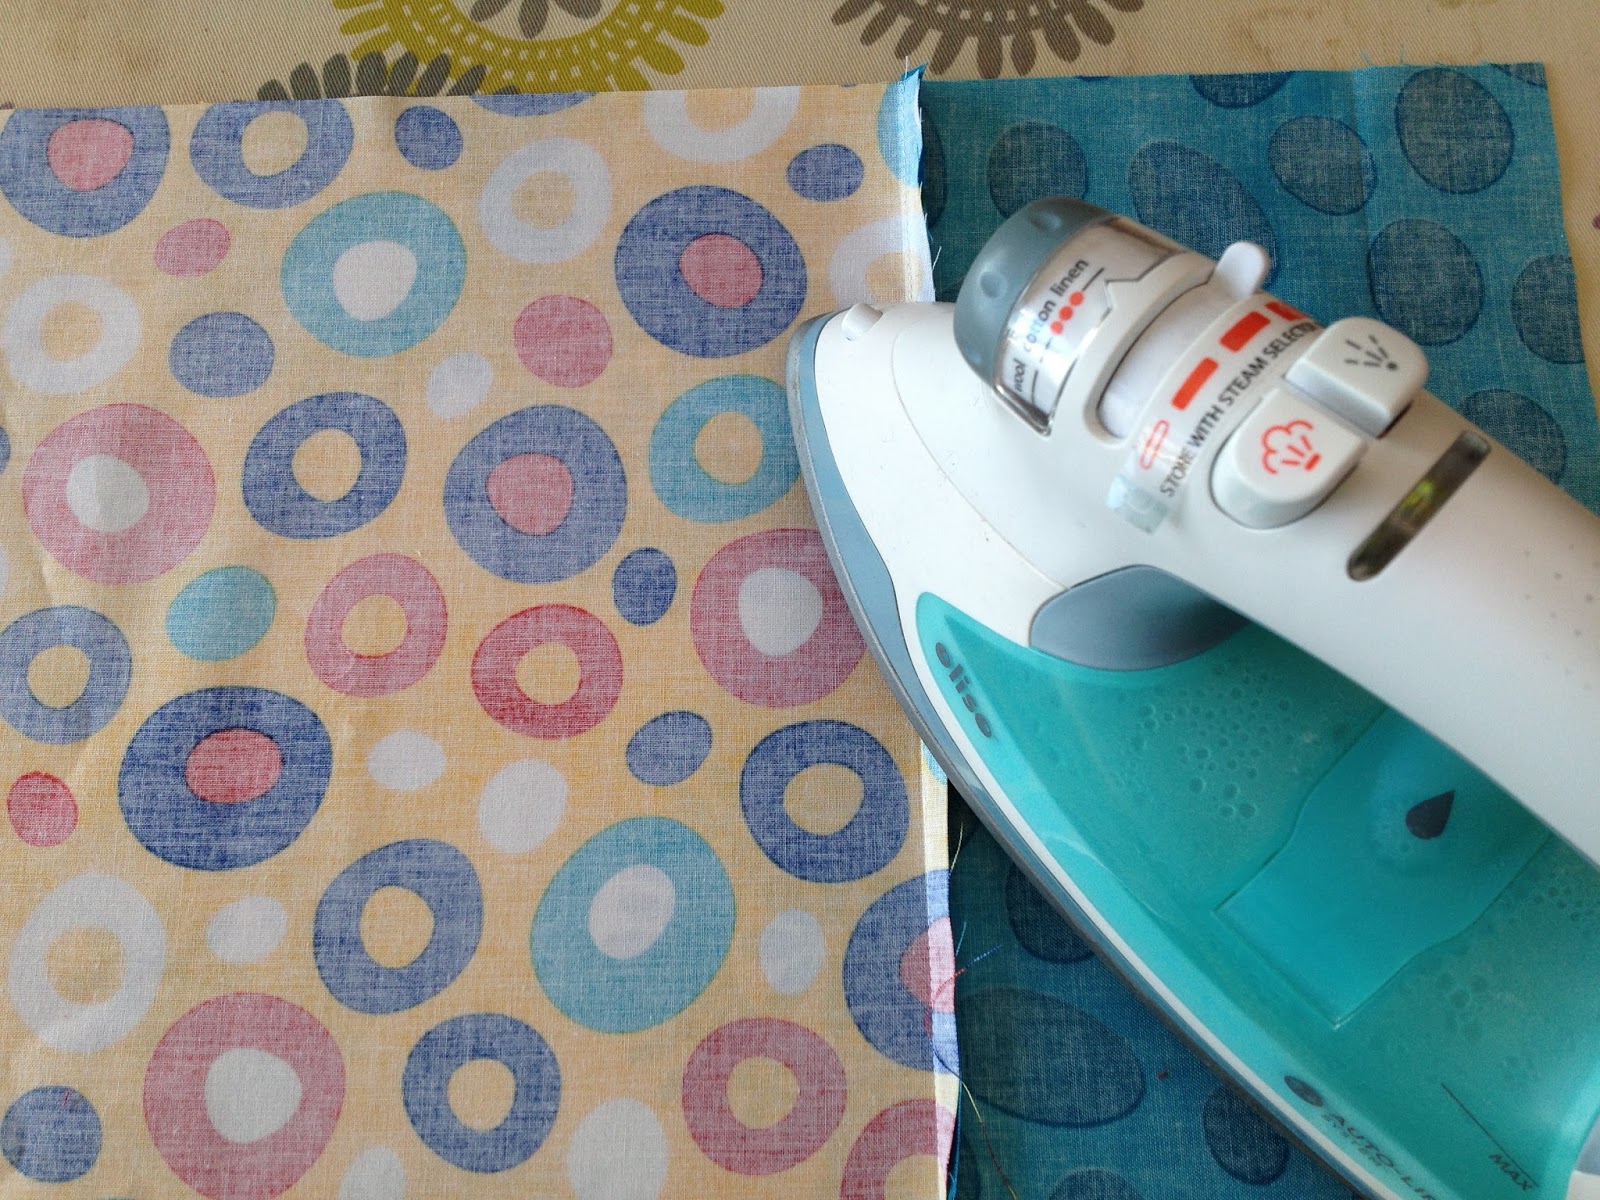
Happy Sewing and make sure not to do any pirate chores today...like irrrroning!

Chicken and Dumplings for Two

With the weather changing and Fall around the corner I was inspired to make a hearty, home cooked, dinner. 
Now I am not much of a cook so I started with some basics and went from there. My hubby approved and I hope you do too!


Ingredients:
For chicken mixture...
2-3 chicken breasts cubed and cooked
1 can Campbell's Cream of Chicken
2 small cans/ 1 box chicken broth
Mixed frozen vegetables ( I used Bird's Eye single servings of corn and peas)

For dumplings...
Bisquick
milk
cheddar cheese


Directions:
Mix chicken, cream of chicken, and chicken broth in a medium sauce pan. Bring to a boil. Reduce to a simmer and add frozen vegetables. Simmer 10-12 minutes. 
Mix dumplings as directed on Bisquick box. Drop dough balls onto the surface and cook according to box recipe.

Remove from heat and enjoy!

Monday, September 9, 2013

Celebrate Suess Quilt Tutorial

I love starting new projects!
Quilts for a friend, quilts for a loved one, quilts for myself!
The anticipation of the finished product is so exhilarating!

With help from my friends at Shannon Fabrics, Robert Kaufman Fabrics, and Friend Folks I'm bringing you this start-to-finish quilting tutorial.


Step 1: Choose a Pattern

For this tutorial I've chosen to use the Turning Twenty pattern by Tricia Cribbs. The pattern is perfect for fabric with large print. It allows the fabric to be the star of the quilt rather than the pattern.


Step 2: Purchase Fabric

Depending on the size of the quilt you want to make, buy the appropriate amount of fabric and don't be afraid to buy a little extra for your stash. ;) For this quilt I chose from the Celebrate Suess! line of fabric by Robert Kaufman. It's large prints and and iconic images where fabulously suited for the pattern.


Step 3: Buy Backing Fabric

Many quilters skip this step when first buying material for the front and then later wish they hadn't. If you buy the back while you're buying the fabric, then you'll have it ready when you finish your quilt top. If you don't, you run the risk of having your quilt top lay abandoned for days on end. Yikes!

For this quilt, I chose to use Cuddle by Shannon. Shannon Fabrics coordinates with Robert Kaufman Fabrics on some of their fabric lines and had the perfect Celebrate Suess! backing.  Cuddle by Shannon is the softest fabric you'll ever touch and makes an amazing back. Since it is 60" wide you rarely have to piece the back. Check out The Perfect Back for a Baby Quilt for more information.


Step 4: Cut the Fabric

Be sure the follow all directions carefully. Turning Twenty has great, easy-to-read instructions and picture!


Step 5: Sew the Quilt Top

Match pieces together and sew blocks according to the directions. Chain sew if possible to increase efficiency! Once all the blocks are sewn, layout the blocks and adjust placement until you are satisfied with the way your quilt top will look. Mark blocks so you know how they go together and then assemble rows. Sew rows together to complete your top!


Step 6: Batting, Backing and Basting

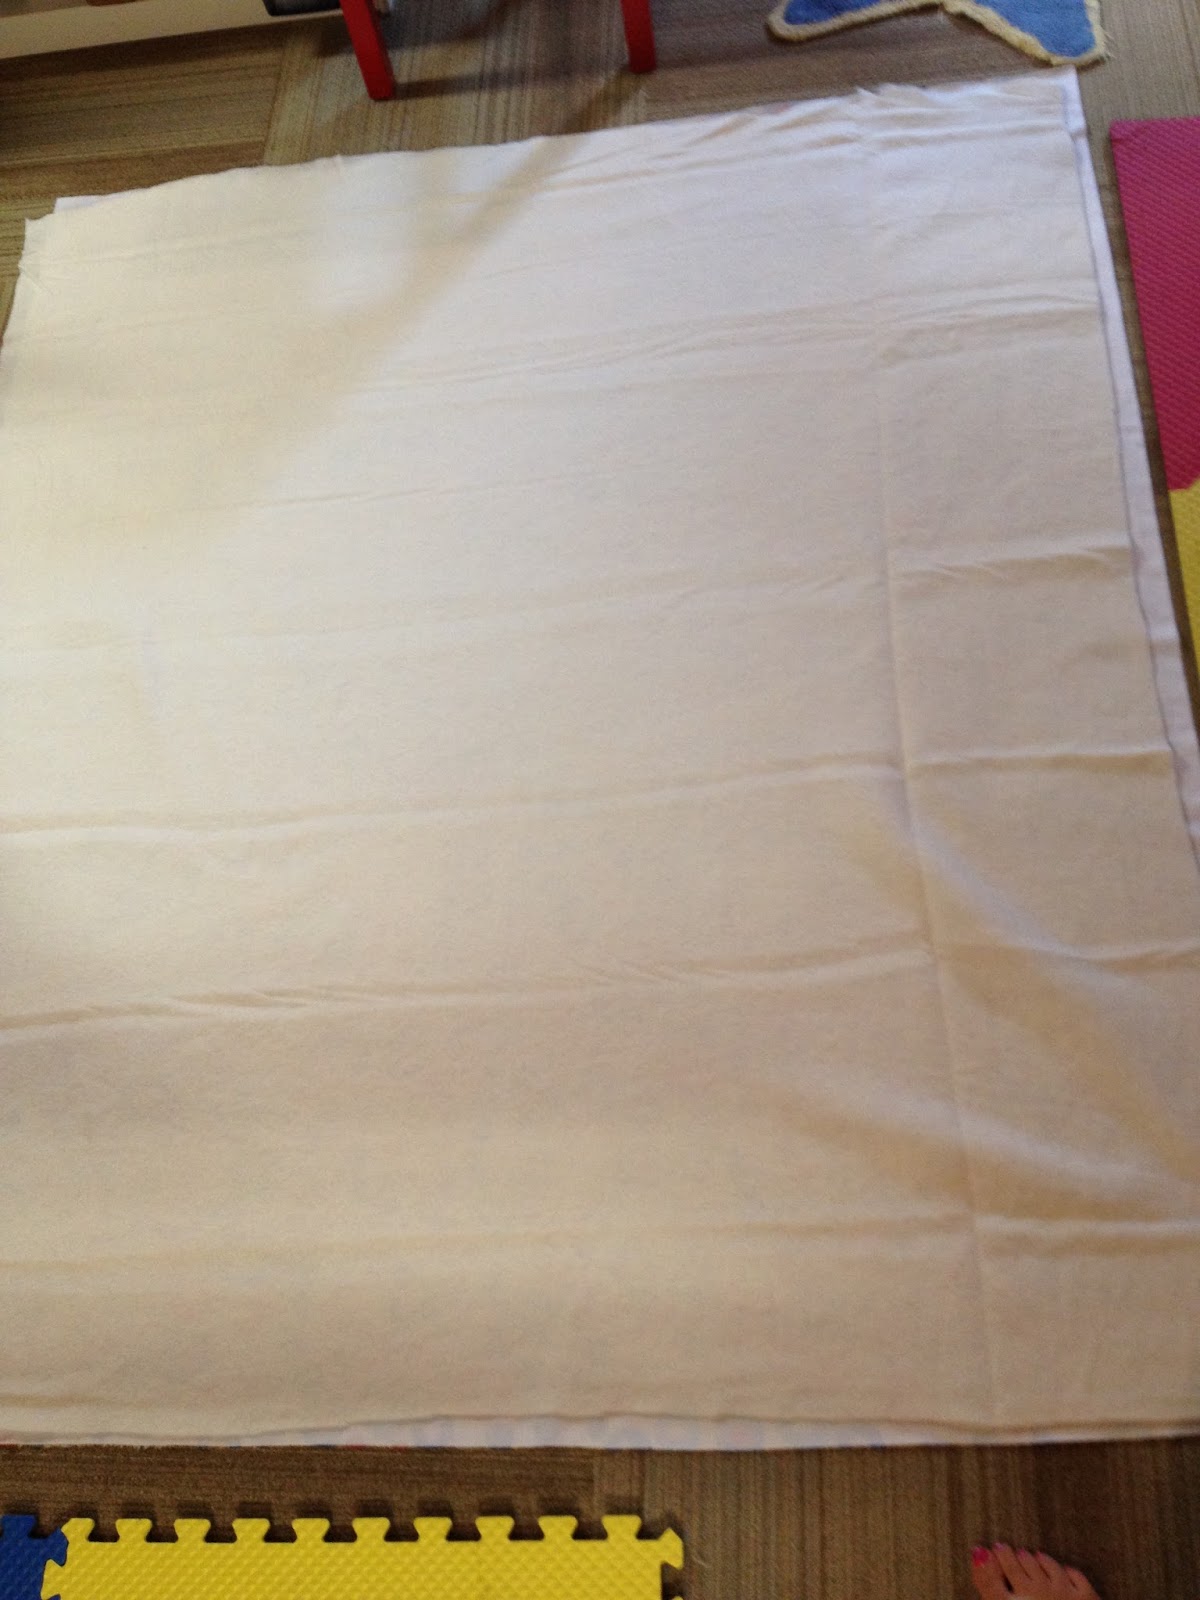
When your top is complete it is time to baste your quilt so it can be quilted. Lay your backing fabric, right side down, on the floor. Secure the corners with pins or tape so the fabric won't move. Place your batting on top of your backing. You may choose to secure it as well. Lay your completed quilt top, right side up, on top of the batting. Now it is time to baste the three layers together in your preferred way. Personally I like to pin baste, but any way will work!


Step 7: Quilt your Quilt

I love quilting using my sewing machine! Mark the lines you want to quilt on your top clearly. I usually stick to straight lines when quilting with my machine. Some people are afraid to use Cuddle with their sewing machine, but I love the way it turns out. Plus, it's very easy to work with! My only tip is to use your Walking Foot. This will help the fabric feed through without sliding or bunching.


Step 8: Trim and Bind

Once you are finished quilting, trim away the excess batting and backing fabric and attach your binding!


Enjoy your new quilt and cuddle up under your Cuddle-y back!

Wednesday, June 5, 2013

I'm Buying a Gammill Statler Stitcher


This year my school made budget cuts and I found myself without a job. I decided to take those lemons and make lemonade! I decided that while I wait to hear back about applications I would get a Longarm Quilting Business started! 

So now I official have Sarah's Quilting Studio!!!

In order to afford my new machine I have set up a kickstarter.com page to take pre-orders. It doesn't become available to the public for a few more days, but here's a sneak peek at the video I created for the page.


Stay tuned for updates and the official launch of my Kickstarter page.

Who knows??? Maybe soon Quilting Will Be My Day Job ;)

Monday, May 6, 2013

T-Shirt Quilt Tips

Track season started and I fell off the face of the Earth. I apologize readers, for my absence, but I did find some inspiration while I was away.

What item do you think was most frequently used to wrap up in, cover up with, lay out on, or use as shelter during track season?

A Quilt of Course!!!


More specifically t-shirt quilts.
T-Shirt quilts are a wonderful way to preserve memories, show team spirit, and recycle old t-shirts into something beautiful. They are the perfect usable scrapbook!

Previously I wrote a tutorial for a T-Shirt Quilt Wall Hanging. Today I have a few tips for you to help make the process run a little smoother.

Tip #1: Run all t-shirts through a rinse cycle in your washing machine. This washes away any detergent residue, fabric softener or dryer sheet residue. It will help your stabilizer adhere better.

Tip #2: Dry all shirts immediately after washing without using dryer sheets. Some people don't dry t-shirts and they may shrink in the dryer.

Tip#3: Dry t-shirts inside out to avoid decals stinking to one another.

Tip#4: Cut the t-shirt straight up the middle of the back and iron stabilizer to the entire backside of the front. This way when you go to cut out your front block, it already has stabilizer attached.

Tip #5: When cutting out your front design don't worry if your block overlaps with the sleeve seams. Most likely they will get lost on the seam allowance and won't be seen once the top is quilted.

I hope these tips help as you begin your t-shirt quilt creations. I want to give special thanks to Cindy for her words of wisdom on this subject. Good luck and happy quilting!

Saturday, February 9, 2013

Well Cuddle Me Happy!

Cuddle by Shannon is the most irresistible fabric I have 
ever had my hands on! 
So that is why I have chosen it to go with my Celebrate Suess! fabric from Robert Kaufman.
Now all I need to do is decide on a pattern and I'll be set!

Plus, since Cuddle by Shannon is 60 inches wide I won't have to do any piecing for the back of my quilt!

It's The Perfect Back for a Baby Quilt!


Shannon Fabrics and Robert Kaufman have joined forces to create the most beautifully soft and cuddly fabric imaginable. Just look at the cotton and the cuddle together!

This quilt is going to be fabulous!


Tuesday, February 5, 2013

The Journey of the Trip Around the World Quilt: The Journey Begins

So the story goes...

One beautiful quilting day, two best friends set off for the local quilt shop together looking for a project.  Low and behold the quilt shop was full of patterns, kits, and fabric that would dazzle and delight. Together, they wandered through the shop oohing and ahhing as they went. 

Then suddenly there it was. A gorgeous quilted masterpiece, made from hundreds of tiny, 30's print, squares. Their jaws dropped, their hearts leapt, and their eyes grew glassy as they pictured the joy that this quilt would bring. 

They were assured by the lovely shop worker that the quilt would be easy to create. She herself had made the sample and it would be a "piece of cake" if they did it together. Inspired both friends bought their own kit. 

They took it home...
They opened it up...
They admired all of the beautiful fabrics...
They read the pattern...and they put it away.

That's it. They put it away. That is the end of our story.


Or so you might think... 

One beautiful quilting day, almost a decade later, those same two best friends pulled those same two kits out of the closet and began working.

This is the journey of the Trip Around the World quilt. 


I, Sarah Beth, am the oldest daughter of these two best friends. I have grown up admiring these two beautiful woman and have learned so much from them. These kits were purchased when I was 15 years old and I now have the privilege of telling their story, and witnessing their transformation into masterpieces. I'm sure there will be pit stops and detours along the way, but I also know that these two woman are capable of anything they set their mind to.

So I invite you to join me on a trip of determination, skill and friendship. Let the journey begin!